java -version
Dense, deep learning-based intracranial aneurysm detection on TOF MRI using two-stage regularized U-Net
March 22, 2022
Frédéric Clauxa,1, Maxime Baudouinb,1, Clément Bogeyb, Aymeric Rouchauda,b
Journal of Neuroradiology, 2022
1 FC and MB are co first authors.
a University of Limoges, CNRS, XLIM
b Limoges University Hospital (CHU Dupuytren), Department of radiology
Paper available here.

Background and purpose
The prevalence of unruptured intracranial aneurysms in the general population is high and aneurysms are usually asymptomatic. Their diagnosis is often fortuitous on MRI and might be difficult and time consuming for the radiologist. The purpose of this study was to develop a deep learning neural network tool for automated segmentation of intracranial arteries and automated detection of intracranial aneurysms from 3D time-of-flight magnetic resonance angiography (TOF-MRA).
Materials and methods
3D TOF-MRA with aneurysms were retrospectively extracted. All were confirmed with angiography. The data were divided into two sets: a training set of 24 examinations and a test set of 25 examinations. Manual annotations of intracranial blood vessels and aneurysms were performed by neuroradiologists. A double convolutional neuronal network based on the U-Net architecture with regularization was used to increase performance despite a small amount of training data. The performance was evaluated for the test set. Subgroup analyses according to size and location of aneurysms were performed.
Results
The average processing time was 15 min. Overall, the sensitivity and the positive predictive value of the proposed algorithm were 78% (21 of 27; 95% CI: 62–94) and 62% (21 of 34; 95%CI: 46–78) respectively, with 0.5 FP/case. Despite gradual improvement in sensitivity regarding aneurysm size, there was no significant difference of sensitivity detection between subgroups of size and location.
Conclusions
This developed tool based on a double CNN with regularization trained with small dataset, enables accurate intracranial arteries segmentation as well as effective aneurysm detection on 3D TOF MRA.
AneuDetect: deep, variational aneurysm detection tool
The tool is available for download here.

Installation requirements
The detection tool has the following requirements:
-
Hardware requirements
-
16GB of RAM (24GB of RAM recommended), 6GB of on-board graphics card RAM for predictions
-
32GB of RAM, 12GB of on-board graphics card RAM for training (8GB should be enough if half-precision training is used)
-
nVidia graphics card of generation 7xx or later with the required amount of memory (eg. 980Ti+, 1070+, 16xx, 20x0, 30x0 and all existing Titan cards)
-
-
Software requirements
-
Windows 7, 8, 10 or 11 (64 bits only)
-
Java >= 11. Java JDK can be downloaded from here.
-
recent nVidia graphics driver, supporting at least CUDA 11.2 (see below)
-
CUDA >= 11.2. CUDA can be downloaded from here.
-
cuDNN >= 8.1. cuDNN can be downloaded from here. cuDNN files need to be manually copied over to the CUDA folders.
The installation procedure of cuDNN files into CUDA directories is described here. There is a minor error in this page, whereby files should not be copied to 'C:\Program Files\NVIDIA\CUDNN\v8.x', but to %CUDA_PATH%:
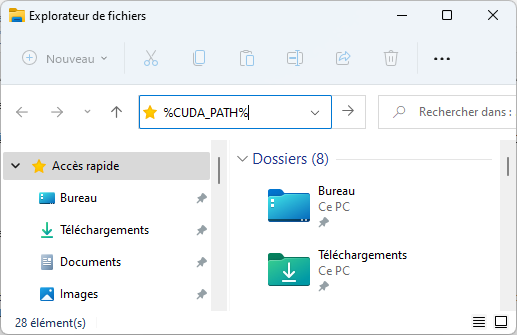
which gives (when ENTER is hit):
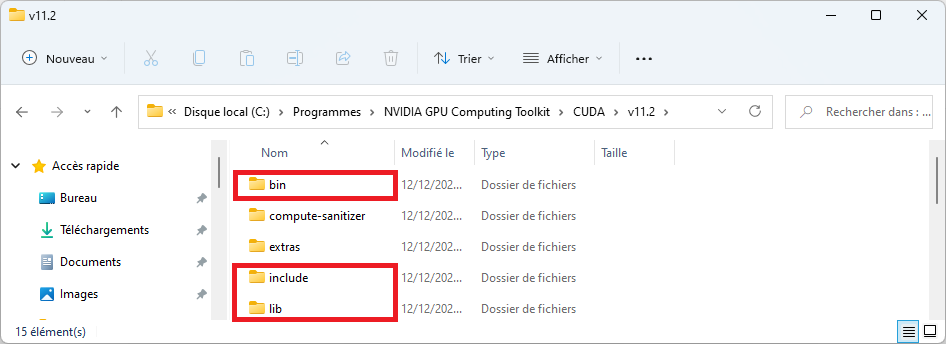
cuDNN files should be copied into the folders highlighted in red, as explained in the installation procedure.
-
The tool has been tested on CUDA 11.2.2 and cuDNN 8.2.
To check your configuration before installing anything:
-
open a command prompt (Win+R then type cmd.exe)
-
type
to see if any Java runtime is currently installed on your system, and to check the version. If the command produces an error, Java is not installed.
-
check the CUDA version supported by your driver by typing
nvidia-smi
Note the CUDA version displayed here is not your installed CUDA version (if any). This command also lists the amount of memory.
-
type
echo %CUDA_PATH%
to check your CUDA installation. If nothing is displayed, this means CUDA is not installed. If a directory path is displayed, the path will give you the version number.
-
type
dir "%CUDA_PATH%\bin\cudnn*"
to list files starting with "cudnn" in the CUDA folder. If you don’t see any file, this means cuDNN has not properly been installed.
Installation procedure
Just unzip the archive in a folder and double-click on the file with the .JAR extension.
Using the tool
Power-saving is automatically disabled while a prediction or a training operation is in progress.
The tool does not check the validity of input files or parameters. If any file provided is incorrect, or in an unsupported format, or if parameter values are bogus, the behavior of the tool will be unpredictable or the tool may just crash.
Importing MRI data
Expected directory structure and file format
The tool needs to convert input files into its own format before predictions or training can take place. The conversion procedure is mainly meant to accelerate training, but is also required for predictions. The File > Convert dataset menu item can be used to import data, in Nifti format (.nii.gz) only. Note that Nifti files must contain voxel size information. A folder should be selected. This folder should contain subfolders in which TOF data may be found, with or without additional segmentation data. There should be
-
one folder per MRI
-
if only one file is present in the folder, this file will be treated as the TOF MRI.
-
if two files are present in the folder, the second one should use the same name as the first one, appended with an 'S'. This file is treated as a radiologist’s segmentation (ground truth) of a TOF MRI and may be used for training. Aneurysms should be marked with a value of 2, vessels 1, and background 0.
For instance, you may have a folder P10000 containing two files, P10000.nii.gz and P10000S.nii.gz. P10000.nii.gz is the TOF and P10000S.nii.gz is the corresponding manual segmentation.
Detailed import procedure
These screen captures detail the import procedure.
-
Select the File > Convert dataset… menu item
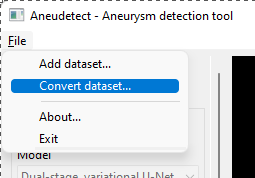
-
Select the top-level dataset folder, the one containing one subfolder per MRI. Each subfolder contains one or two .nii.gz files.
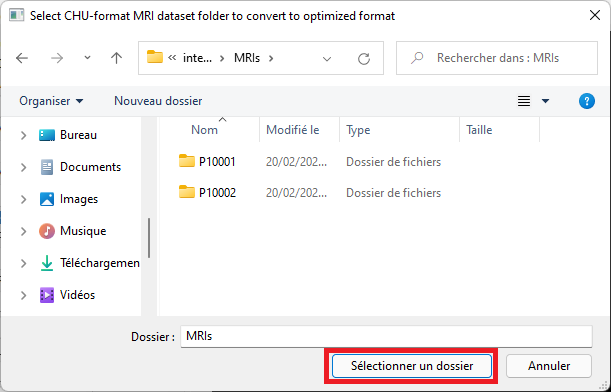
-
Select an empty output folder where to save converted data. This folder will later be used to perform predictions, or for training.
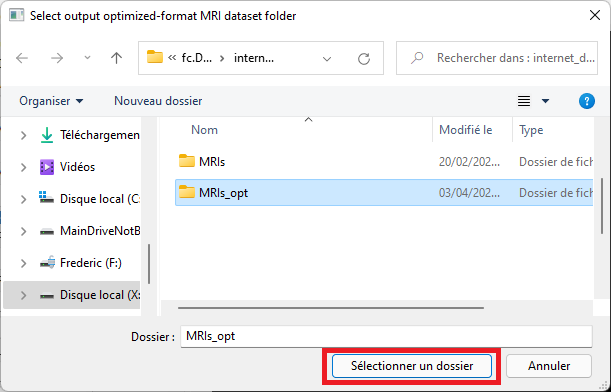
A conversion dialog will appear and the import procedure will take place. Please wait until the procedure has completed. Note that estimated time may be incorrect in this dialog and can be ignored.
Predictions
The application ships with a pre-trained model with a size of 64, with a reference voxel size of 0.4 mm. Select or enter the correct model and voxel sizes, click the 'Restore model' button and select the 'weights' folder containing model weights, as illustrated below.
-
Select the 'Add dataset' menu item
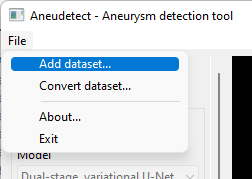
-
Select the folder that contains files in optimized format (see the conversion procedure in the section above)
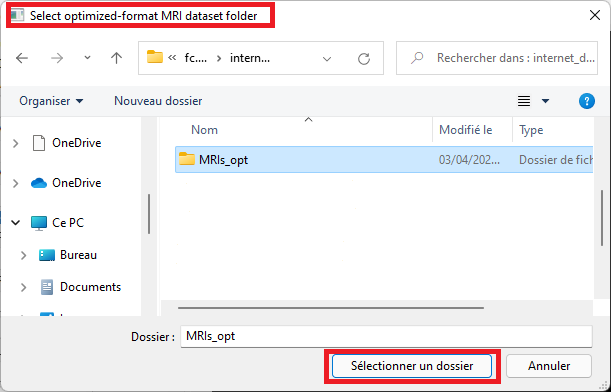
-
Select the model size. This size must match the size of the model for which weights have been saved (a dialog will pop up and complain otherwise) The proposed, saved model has a size of 64 (note the default size is 32 only).
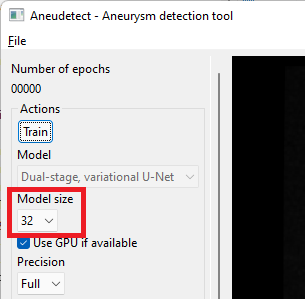
-
Select the prediction precision. If your GPU has less than 8GB of on-board memory, you may have to select 'Half' precision instead of 'Full'. Prediction quality will only be marginally impacted.
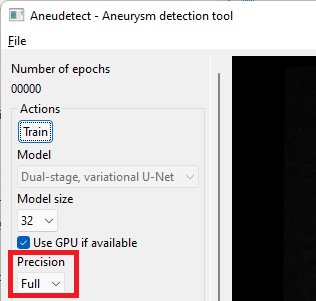
-
Click the 'Restore model' button.
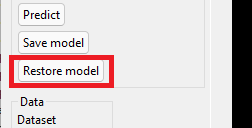
-
Select the 'weights' folder
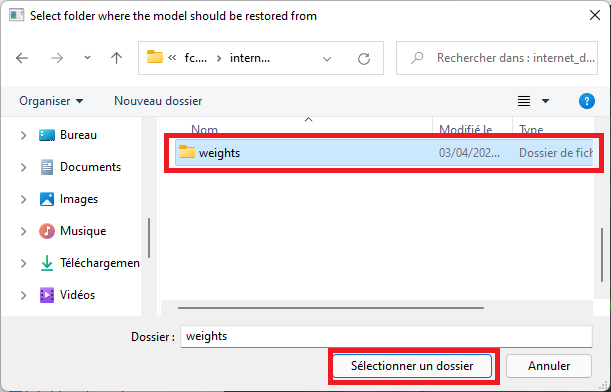
-
Make sure the voxel size used for predictions matches the voxel size of the saved model. The proposed model was trained with a reference voxel size of 0.4 mm (default value).

-
Click the 'Predict' button to detect vessels and aneurysms for the currently displayed MRI. Prediction time depends on your setup.
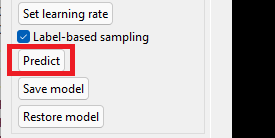
-
Once the prediction is complete, make sure you select 'Modality+prediction' in the view settings.

Note you may use the 'Batch predict' button to calculate predictions for all MRIs in the current dataset. This may take a while though, be prepared to wait. The tool will automatically prevent the computer from entering power saving while predictions are in progress.
Training
You can perform your own training by clicking the 'Training' button. Choose a model size, a regularization power and a learning rate, in that order. Default values should be preferred although the model size should be increased to at least 64. Training a model with size 32 may be done on low-memory computers (eg. 4GB graphics card). Half-precision mode should be used when graphics card memory is low (less than 8GB). Save the model with 'Save model' after training. Model weights may be loaded back later on.
